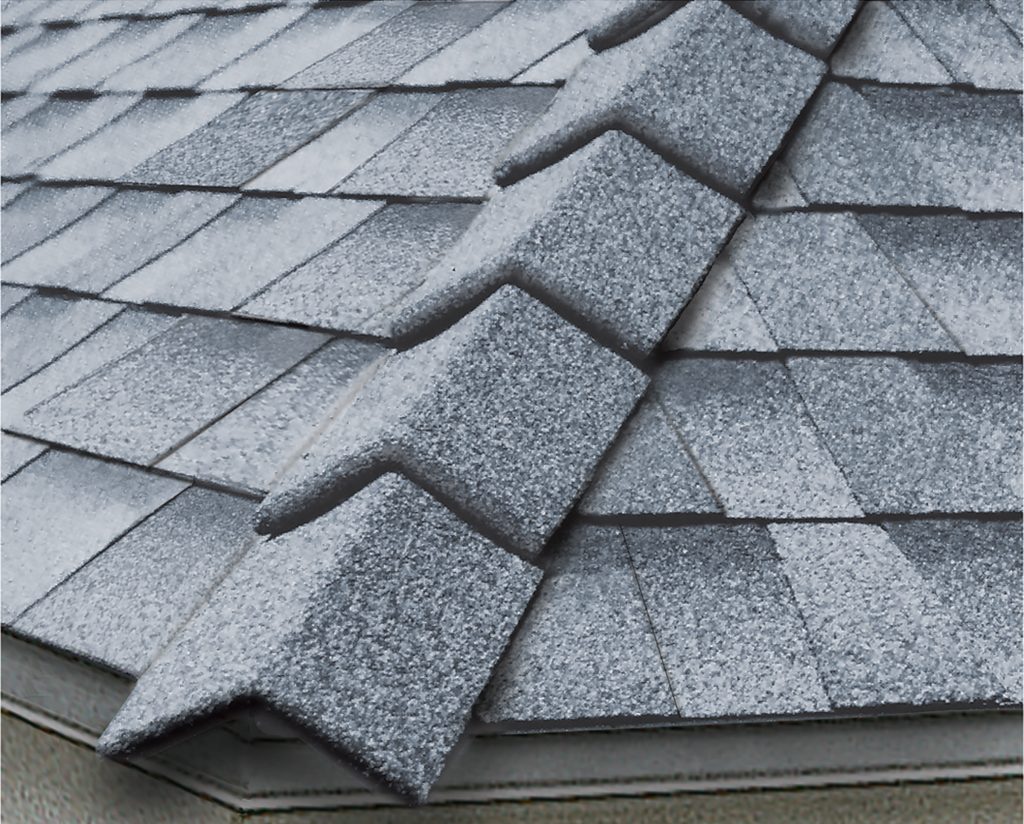
We at Pro Home Leak Repairs offer roof ridge caps installation in East Hampton NY to provide homeowners with a durable and impact resistant alternative to the standard asphalt shingle roof system. The ridge of a sloped roof system is the horizontal top area where two sloped roof areas meet, and it is the most vulnerable area of any roof system to damage from wind, rain, hail, and snow.
The installation process for our ridge cap shingles is quite simple in comparison to other types of alternative roofs like metal or slate. All you need are basic hand tools (hammer drill), a ladder, safety goggles & face mask. Pro Home Leak Repairs roofers will walk you through the process.
How to – roof ridge caps install
The installation process for our ridge cap shingles is quite simple in comparison to other types of alternative roofs like metal or slate. All you need are basic hand tools (hammer drill), a ladder, safety goggles & face mask. Pro Home Leak Repairs roofers will walk you through the process step by step.
Hiring Pro Home Roof Leak Repairs in East Hampton NY is easy. We offer free estimates, warranty for our products and services, FREE quotes with no obligation & flexible hours to accommodate your busy schedule.
When should i have my roof ridge caps installed
It’s best to wait until spring or early summer when the weather has started to take a turn before you begin installation of these shingles since they are more susceptible to damage from strong winds during the winter.
Installation will vary depending on roof pitch and if you have a skylight or dormer window in your roof system. In general, it’s best for two workers with experience installing shingles to complete this project within one day.
Once all ridge caps are installed we recommend that you call us for an inspection to ensure that your roof is ready for winter weather.
Where do you nail ridge caps?
Nailing ridges is a little different than nailing shingles and requires additional knowledge of roof construction like: having the proper ventilation to prevent any condensation build up, using nails that are long enough to penetrate through your new ridge cap and into your decking boards (we recommend you use ring or screw nails), and ensuring the ridge cap is properly sealed with a durable waterproof adhesive.
You can install your new shingles from either side of your roof as long as you have access to an adjacent section of roof that’s at least 50% clear for installation purposes.
Begin by nailing up one end, keeping in mind that proper ventilation will be required if it has been determined that condensation build up could present itself during or after the installation process (a skylight or dormer window).
Make sure your nail locations are spaced no more than 24″ apart along the entire length of each rafter board edge under both sections. Also make sure not to forget any penetrations through chimneys & exhaust vents which
How do you install a ridge cap over a ridge vent?
You’ll want to try and keep your existing roof rafters as intact as possible, which means either cutting out all of the old vents from the top side of your current ridge cap or just leaving them alone if they’re already cut off flush with the underside of your deck boards.
If you do decide to cut away any portion of your roof rafter boards make sure not to go more than half way across since it’s important for structural support purposes.
Applying Adhesive (DIY Continued)
Once the opening has been properly prepared on one end, apply an adhesive sealant along where both ends meet before nailing each board together using ring nails.
Apply a good amount of adhesive sealant to the underside as well since you’ll need it for installation purposes with your new shingles, and be sure to spread it evenly along both surfaces that will meet together.
How do you put a ridge cap on a metal roof?
Metal roofs are generally not preferred by most home owners because of their tendency to dent easily and can be quite pricey in comparison with other roofing types, but they do provide good warranty information for leaks & defects over time (usually up to 20 years).
They also offer excellent insulation benefits which will help keep your house warm during winter months as well as cool during summer weather.
If you decide on having this type of roof installed it is recommended that you have two workers at hand since there’s additional weight involved due to the ridges being thicker than conventional shingle decks. Also, make sure both workers know how to properly lift one end without slipping or dropping any part of the ridge.

Metal Roof Install
To install a metal roof you will need to remove your existing roof deck boards before nailing down both sides securely through your new ridge cap, and be sure to use the same roofing nails that came with your specific package.
After nailing down both sides you can then nail on a few screws along each board just below the upper lip of where your metal begins for additional support.
Remember: it’s important to install an ice & water shield.
Give Us A Call
If you’re interested in having a new roof installed or would like to learn more about the various types of roofs offered for homeowners, please call us at (631) 315-2800. We offer free estimates & consultations with no obligation necessary since we want our customers to feel confident knowing they made the right choice when hiring Pro Home Leak Repairs for their roofing needs.
You can also check with the Better Business Bureau and Google Reviews before signing any contracts.